
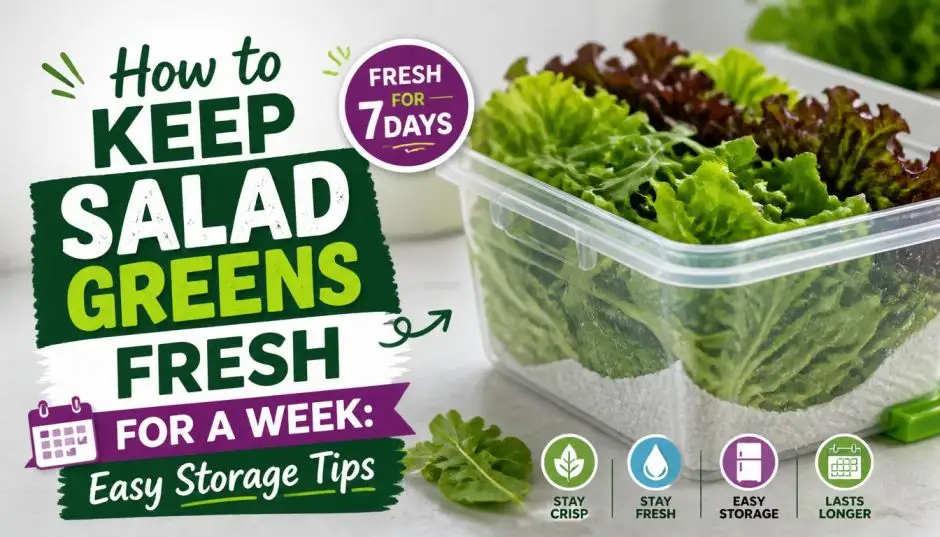
You know that feeling. You buy a beautiful bag of mixed greens with the best intentions. Three days later, you open the fridge. The leaves are wilted. There is a suspicious slimy patch at the bottom. You throw it all away. You waste your money. You waste your food. You feel guilty.
We have all been there. It is frustrating. It is also preventable.
The question is not about finding a magical solution. It is about understanding the enemy. Moisture and ethylene gas are the real culprits. They destroy your greens. They turn crisp leaves into sad, mushy disappointment.
A salad greens fresh for a week recipe starts long before you make the salad. It starts at the store. It continues in your fridge. It ends with you enjoying a crisp, delicious salad every single day.
You can do this. You do not need expensive gadgets. You just need to know a few simple rules. This guide will walk you through every step. You will learn how to keep your greens fresh, vibrant, and ready to eat.
Why Your Greens Die So Fast?
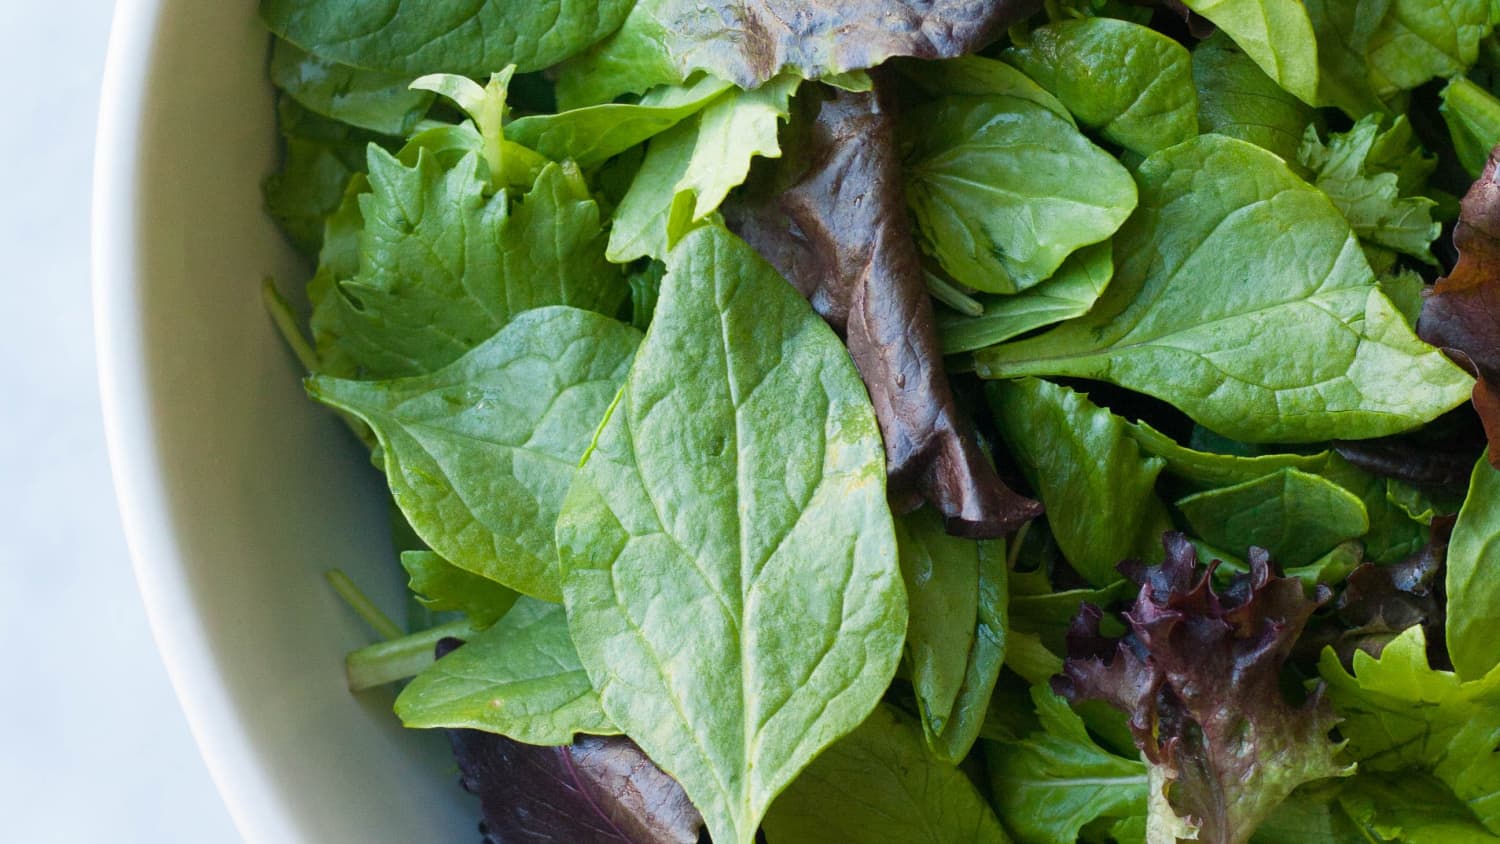
Leafy greens are delicate. They are mostly water. They are alive when you buy them. They are still respiring. They are still breathing. This process causes them to lose moisture.
It also causes them to release ethylene gas. Ethylene is a ripening agent. It speeds up decay. It is like putting them in a room with a bunch of overripe bananas. It makes them age faster.
Read Also: Roasted Root Vegetable Salad with Balsamic Recipe
The fridge is cold. Cold slows down respiration. That is good. But the fridge is also dry. The air is constantly circulating. This dries out the leaves. It makes them wilt. It is a constant battle. You need to create a humid environment. You also need to keep them cold. It is a delicate balance.
The Classic Mistake: The Original Bag
Many people think the bag is fine. It is not. The bag is a trap. It locks in moisture. That moisture has nowhere to go. It pools at the bottom. The leaves at the bottom are soaking. They start to rot. They turn to slime. It spreads to the rest of the bag.
It is a very common mistake. You buy the pre-washed mix. You put it straight in the fridge. You think you are saving time. You are actually starting the countdown to slime. You need to get them out of that bag.
Step One: The Wash and Dry Process
The most important step is also the most overlooked. It is the washing and drying process. It is the foundation of a salad greens fresh for a week recipe. You need to start with a clean slate. You need to remove any dirt or debris. You need to remove the excess moisture.
You might think the pre-washed bags are clean. They usually are. But they are often wet. The moisture builds up. It creates the perfect environment for bacteria. You need to get them dry. Pat them dry with a clean towel. Use a salad spinner. Spin them until they are bone dry.
The Salad Spinner: Is It Worth It?
A salad spinner is a valuable tool. It is one of the best containers to keep salad fresh. It is not just a fancy gadget. It actively removes water. This is vital. It makes a real difference.
-
Pros: It dries the leaves quickly. It is gentle. It can hold a large amount of greens. It also acts as a storage container for some.
-
Cons: It takes up a lot of space. It can be bulky. The cheap ones break easily. They are not all created equal.
Which Spinner Is Right for You?
The best spinner is the one you will actually use. Do not buy a complicated model. Keep it simple. A pull-cord spinner is classic. It works well. It is easy to use. A pump-action spinner is also good. It can be more ergonomic. It is easier to use with one hand.
The size matters, too. Buy one that is big enough. You want to dry a whole head of lettuce. You do not want to do it in batches. That wastes time.
That can also damage the leaves. Overcrowding is not good. You need space. It is worth the investment. It is a one-time purchase. It saves a lot of food waste.
The Paper Towel Method: A Low-Tech Alternative
You do not have to buy a spinner. You can use paper towels. It is a simple, effective method. It costs very little. You might already have them in your kitchen.
You Must Also Like: How to Make Fruit Salad Step by Step With Pictures?
-
Pros: It is cheap. It is easy to find. It is perfect for a small amount of greens. It is easy to control.
-
Cons: You will need a lot of towels for a large batch. It can be wasteful. It is more time-consuming. It is not as gentle as a spinner.
How to Do It Right
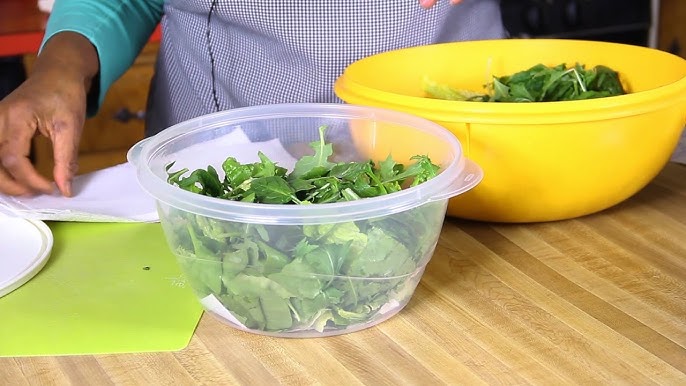
Lay out a few layers of paper towels. Spread your clean greens on top. Gently pat them dry. Then, roll them up. Roll them in the towel. This is a great way to store them, too. The towel will wick away moisture. It will keep them crisp. It is a very effective method.
Step Two: The Container Is Everything
This is the second big decision. You have cleaned and dried your greens. Now you need to choose a home for them. It is not just about any container. It is about creating a microclimate.
The perfect container will regulate moisture. It will allow some air to circulate. It will stop the greens from getting too wet or too dry.
Glass vs. Plastic: The Great Debate
Both can work. Both have their pros and cons. It comes down to personal preference. It depends on how you use them.
Glass Containers
-
Pros: Glass is inert. It does not leach chemicals. It is easy to clean. It is dishwasher safe. It looks nice on the shelf. It is durable. It does not stain or hold odors.
-
Cons: Glass is heavy. It is breakable. It is more expensive. It does not always have the best seal. The lids can be tricky.
Plastic Containers
-
Pros: Plastic is lightweight. It is cheap. It is unbreakable. It is often stackable. It is easy to find. Many come with locking lids.
-
Cons: Plastic can stain. It can hold odors. The lids can warp. It can crack. You have to be careful with harsh soaps. It might not be as durable.
The Best Container Types
You want a container that is a "crisper." It is designed for vegetables. It will have a special vent. The vent lets out excess moisture. It keeps the air from getting too humid. This is a real benefit.
-
The Locking Lid Container: This is a classic. It has a secure seal. It is very popular. It will keep moisture in. It is a good general-purpose choice.
-
The Green Container with a Vented Lid: This is a great option. It is designed specifically for produce. The vent is key. It releases the ethylene gas. It helps the greens stay fresh longer.
-
A Simple Glass Bowl with a Lid: This will work. You just need to be careful. You must use the paper towel method. It will create a good seal.
Step Three: The Fridge Placement
Where you put your greens matters. The fridge is not a uniform place. There are warmer and cooler spots. The door is the warmest part. It is not a good place for your greens. The back is the coldest part. It is more consistent. It is the best place.
The crisper drawer is the best place. It was made for this purpose. It keeps the humidity high. It keeps the temperature stable. It is a perfect environment for your greens. Use it. That is what it is for.
The "Salad Fresh for a Week Recipe" Process
You have the knowledge. Now you need a process. This is the step-by-step guide. It will help you keep salad mix fresh in the fridge. It will help you keep lettuce fresh for a month.
-
Buy the Freshest Greens: Choose greens that are vibrant. They should not be yellow. They should not have brown edges. They should feel crisp. Avoid any bag with excess moisture.
-
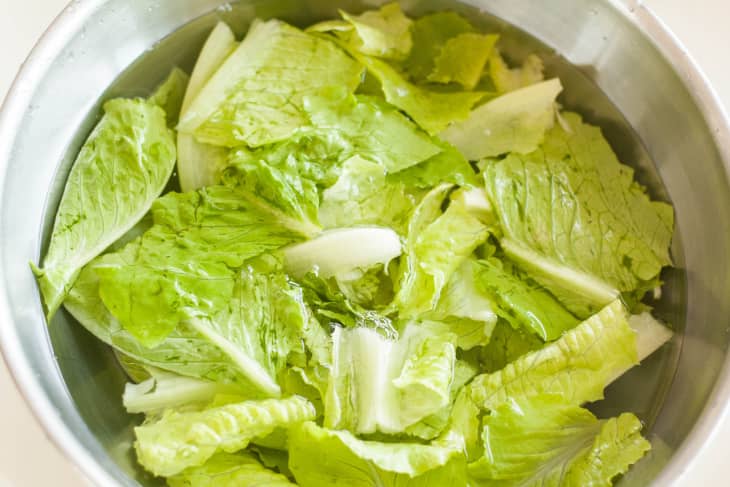
Wash the Greens: Fill a large bowl with cold water. Add your greens. Swish them around. Lift them out. Leave the dirt behind.
-
Dry Them Thoroughly: Use a salad spinner or paper towels. This is the most critical step. Every drop of water is a threat. Dry, dry, dry.
-
Choose the Right Container: Use a container with a vent. Or use a glass bowl. Always use paper towels.
-
Layer the Towel: Place a dry paper towel at the bottom. It will absorb excess moisture. Place the greens on top. Add another paper towel on top. This creates a moisture barrier.
-
Seal and Store: Close the lid. Place it in the crisper drawer. Do not overcrowd the drawer. Give it some space to breathe.
The Long-Term Strategy: How to Keep Lettuce Fresh for a Month
A month is ambitious. It is possible. It requires more effort. It is not a "set it and forget it" situation. You need to be more proactive.
The best method for longevity is the "root method." You can buy living lettuce. It has the roots attached. You can also grow your own. This is the ultimate solution. It stays fresh for a long time.
The Root Method
Place the lettuce with its roots in a glass of water. Like a bouquet of flowers. Put it in the fridge. Cover it loosely with a plastic bag. Change the water every few days. This will keep it crisp for weeks. It is a great technique.
The Blanching Method
This is a good technique for heartier greens. It works for kale, chard, and collard greens. You can blanch them in boiling water for 30 seconds. Then plunge them into ice water.
This stops the enzymes that cause decay. Dry them and store them in a container. It is an extra step. It is worth it for those tough greens.
Troubleshooting Common Problems
You are following the steps. But something is still going wrong. Let us fix that.
Why Are My Greens Wilting? They are losing moisture. You did not dry them enough. Or the container is not sealed properly. You need to add more paper towels.
Why Are They Turning Yellow? They are getting too much ethylene gas. They are too close to other produce. Keep them away from bananas, apples, and tomatoes.
Why Is There Slime? You have a moisture problem. Your greens are too wet. Or the container is too airtight. You need a container with a vent. You also need to dry them better.
Containers That Actually Work: A Real-World Review
Let us get practical. Let us talk about specific containers. This is based on personal experience. It is based on years of testing.
The OXO GreenSaver
This is a great choice. It is a dedicated produce container. It has a special lid. It traps ethylene gas. It regulates moisture. It is easy to use. It is durable. It is a bit more expensive. It is worth the money for serious salad eaters.
Trending Article: Does Sonic Have Salads? A Fresh Take on Fast Food Dining
-
Pros: It works. It really does. It can keep greens fresh for up to a week. It is well-designed. It is easy to clean. It is BPA-free.
-
Cons: It is expensive. It can be bulky. It is not always available in stores. You might have to order it online. It is a big investment. Consider the long-term savings. You will waste less food.
The Rubbermaid FreshWorks
This is a good alternative. It is more affordable. It is also effective. It has a "FreshVent" system. It lets you control the airflow. You can adjust it for different produce. It is made of durable plastic. It is a solid option. It is a good choice if you are on a budget.
-
Pros: It is affordable. It is widely available. It is effective. It is a good value.
-
Cons: The lid can be hard to clean. The plastic can stain. It is not as durable as the OXO.
The Pyrex Simply Store
This is a classic glass option. It is great for meal prep. It is not a specialized container. You must use the paper towel method. It works well with that technique. It is safe in the oven and microwave. It is versatile. It is a good all-purpose option.
-
Pros: It is durable. It is versatile. It is easy to clean. It is safe for food.
-
Cons: It does not have a vent. You have to manage the moisture manually. It is heavy.
What About Herb and Veggie Storage Bags?
You might see reusable produce bags. They are a great idea. They are eco-friendly. They can help. They do not control moisture. They will not keep your greens fresh for a week. They are good for shopping. They are not a solution for storage.
A Professional Insight: The "Paper Towel Change"
This is a professional trick. It is a lesson I learned from catering. Change the paper towel every two days. It takes seconds. It is the single most effective thing you can do.
Check the towel in your container. Is it wet? Change it. Is it soggy? Change it. A dry towel is your best friend. It keeps the moisture at bay. It gives you a week of fresh greens. It is the simplest piece of advice. It is the most powerful.
The Final Thoughts
You now know the real truth. It is not complicated. It is not about magic. It is about control. It is about managing moisture. It is about managing air.
A salad greens fresh for a week recipe is not a single thing. It is a system. It is a routine. Wash them well. Dry them completely. Store them in a good container. Keep a paper towel in there.
You will save money. You will reduce waste. You will eat more salad. You will feel better. You will be a smarter, more confident cook. You can stop throwing away slimy greens. You can start enjoying crisp, delicious salads every single day.
Frequently Asked Questions
Q1: What is the best container to keep salad fresh?
The best container is one that regulates moisture and allows for airflow. The OXO GreenSaver is highly effective with its ethylene gas filter and moisture control. A glass bowl with a paper towel is also a great low-cost option.
Q2: How do you keep salad mix fresh in the fridge?
To keep salad mix fresh, wash and dry the leaves thoroughly. Store them in a container lined with paper towels to absorb excess moisture. Place the container in the crisper drawer of your refrigerator.
Q3: Can you really keep lettuce fresh for a month?
Yes, you can keep lettuce fresh for a month using the root method. Place the lettuce with its roots in a glass of water, cover loosely with a bag, and store it in the fridge. Change the water every few days.
Q4: Why does my lettuce go bad so fast?
Lettuce goes bad fast due to excess moisture and ethylene gas. These two factors promote decay. The packaging from the store can be a trap. It locks in moisture. This leads to slime.
Q5: Is a salad spinner necessary to keep greens fresh?
A salad spinner is not absolutely necessary, but it is highly recommended. It is the most effective way to remove excess water from your greens. This is the most important step in keeping them fresh for a longer period.
Other Articles

How Much Is Cracker Barrel Thanksgiving Dinner This Year?
Hot Chocolate with Superfoods